Tesla Model 3: Evaporator- Remove
Tesla Model 3 2017-2025 Service Manual / Thermal Management / Refrigerant System / Evaporator (Remove and Replace) / Evaporator- Remove
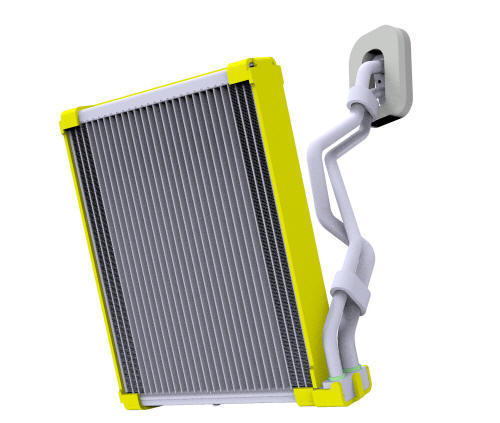
.jpg)
Remove
- Remove the HVAC assembly. See HVAC Assembly (Remove and Replace).
- Put the HVAC assembly on a working surface. Make sure that the HVAC assembly is on its side with the HVAC inlet facing up.
- Remove the TXV O-ring seals (x2) from the HVAC assembly.

- Release the clips that attach the PTC electrical harness to the HVAC assembly, and the remove the PTC electrical harness from the HVAC assembly.

- Remove the screws that attach the PTC to the HVAC assembly, and then pull out the PTC heater from the HVAC assembly.

- Remove the screws that attach the lower evaporator cover to the HVAC assembly, and then remove the lower evaporator cover from the HVAC assembly.

- Remove the sealing ring from the HVAC assembly.

- Remove the screws that attach the HVAC inlet to the HVAC assembly.

- Disconnect the electrical connector from the HVAC inlet actuator.

- Lift the side that covers the evaporator pipes, rotate the HVAC inlet out of the retaining slots on the HVAC assembly, and then remove the HVAC inlet from the HVAC assembly.


- Remove the screws (x3) that attach the upper evaporator cover to the HVAC assembly.

- Remove the upper evaporator cover from the HVAC assembly by lifting the cover off of the HVAC assembly.

- Slide the evaporator out of the HVAC assembly, and then remove the
evaporator from the HVAC assembly.
READ NEXT:
 Evaporator- Install
Install
Install the new evaporator into the HVAC assembly.
Caution:
Do not damage the temperature sensor when installing the new evaporator
into the HVAC assembly.
Note: Make sure that the evap
Module - Cooling Fan- Remove
Remove
Raise and support the vehicle. See
Raise Vehicle - 2 Post Lift
Remove the 2nd row lower seat cushion. See
Seat Cushion - Lower - 2nd Row (Remove and Replace).
Remove the rear underhood
SEE MORE:
Ensuring Accurate Occupant
Classification
To help ensure an occupant in the front
passenger seat can be accurately classified,
the passenger must:
Wear a seat belt.
Sit upright on the center of the seat
cushion, with shoulders resting against the
seat back and legs extended comfortably
in front with feet on the floor.
Touchscreen
Touchscreen (Remove and Replace)
Remove
Remove the 2nd row lower seat cushion. See Seat Cushion - Lower - 2nd
Row (Remove and Replace).
Remove the rear underhood apron. See Underhood Apron - Rear (Remove and
Replace).
Disconnect 12V power. See 12V Power (Disconnect and Connect).
Ins
© 2019-2025 Copyright www.tmodel3.com
