Tesla Model 3: Bushing - Gearbox - Front Drive Unit - Install
Install

- Set up the bushing tool to press in the new bushing. Note: Use cups "L", "H", and "D" when assembling the special tool, as shown.

- Turn the bearing-side bushing tool nut with a wrench until the bushing is fully installed.
- Separate the bushing tool, and then remove it from the drive unit.

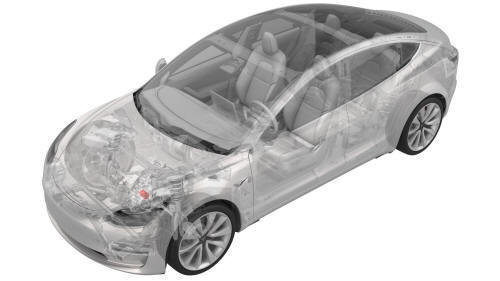
- Attach the gantry hook to the front drive unit engine stand adapter, as shown.
- Raise the gantry hook until it is taut.

- Remove the bolts that attach the front drive unit engine stand adapter to the engine stand, and then set the engine stand aside.
- Position the front drive unit over the front subframe, and then lower the front drive unit onto the front subframe.
Note: Make sure not to move the rear front drive unit support posts from their previous positions.
.png)
- Install the bolt that attaches the front drive unit
to the front subframe.
.png) Torque 80 Nm
Torque 80 Nm
- Lower the gantry hook until the gantry hook is slack.

- Remove the bolts that attach the front drive unit engine stand adapter to the front drive unit, and then set the engine stand adapter aside.
- Move the subframe lifting tool to a working area.
.png)
- Install the clips that attach the front drive unit harness to the front drive unit inverter.
.png)
- Install the clip that attaches the front drive unit harness to the front drive unit motor.
.png)
- Connect the oil pump connector, and then engage the locking tab. Important: Perform a push-pull test to verify that the connector is fully attached.
.png)
- Connect the resolver logic connector, and then engage the locking tab. Important: Perform a push-pull test to verify that the connector is fully attached.
.png)
- Connect the front drive unit inverter logic connector, close the handle, and then engage the locking tab. Important: Perform a push-pull test to verify that the connector is fully attached.
.jpg)
- Apply approximately 1 gram of Molykote M-77 Lubricant Paste only to the hub mating face on the outboard side of the LH and RH front drive unit halfshafts.
Caution: Do not apply any lubricant to the halfshaft splines. If lubricant is mistakenly applied, wipe the splines clean with a shop towel.
- Remove the halfshaft plugs from the gearbox, and then with assistance, install the LH and RH front drive unit halfshafts into the front drive unit. Note: Move the LH and RH front knuckle assemblies aside to provide enough clearance to safely install the LH and RH front drive unit halfshafts.
- Install the steering rack. See Steering Rack (RWD) (Remove and Replace).
- Install the front subframe assembly on the vehicle. See Subframe Assembly - Front (Dual Motor) (Remove and Install).
Filter - Oil - Front Drive Unit (Remove and Replace)
Procedure
Replace the front drive unit oil filter according to the gearbox fluid procedure. See Gearbox Fluid - Front Drive Unit (Drain and Refill).
READ NEXT:
 Gearbox Fluid - Front Drive Unit - Drain
SPECIAL TOOLS
KIT, DRIVE UNIT OIL DRAIN, MODEL 3
(1134264-00-A)
KIT, DRIVE UNIT OIL FILL, MODEL 3 (1139126-0
Gearbox Fluid - Front Drive Unit - Refill
Refill
Remove the fill plug.
SEE MORE:
12V Power - Connect
Connect
Remove the logic connector cap from the high voltage controller
connector.
Connect the electrical harness to the high voltage controller connector.
Install the foam cover to the RH side of the penthouse.
Install the 2nd row lower seat cushion. See
Seat Cushion - Lower - 2nd
Gas Strut - Trunk - LH (Remove and Replace)
Remove
Open the trunk, and support the trunk in the open position.
Release the clip that attaches the lower end of the LH trunk gas strut
to the hinge on the vehicle.
Release the clip that attaches the upper end of the LH trunk gas strut
to the hinge on the trunk lid, and then r
