Tesla Model 3: Gearbox Fluid - Front Drive Unit - Refill
Refill

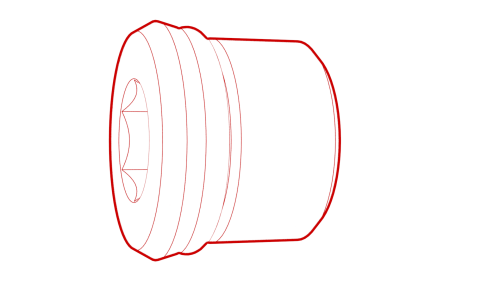
- Remove the fill plug.

- Place the oil fill tool in the fill port, and then open the valve.
- Fill the front drive unit with 1.75 liters of ATF-9 fluid.

- Close the valve, and then remove the oil fill tool from the front drive unit.

- Install the single tube extractor to the fill port. Thread the nut into the front drive unit fill port and aim the hose fitting downwards.

- Connect a Mitivac hose line to the extractor.

- Verify that the valve is closed, and then attach a shop air supply line to the Mitivac.

- Connect the oil pump switchbox and XP-10 jump pack to the oil pump.
- Press and hold the button on the oil pump switchbox for 60 seconds.

- Wait 60 seconds for the gearbox fluid to settle, and then open the Mitivac valve to draw vacuum.

- Once air is visible in the extraction hose, close the Mitivac valve and remove the shop air supply line from the Mitivac.

- Remove the Mitivac hose line from the extractor, and then remove the single tube extractor from the fill port.
- Install the dipstick special tool in the fill port.
- Press and hold the button on the oil pump switchbox for 60 seconds.
- Wait 60 seconds for the gearbox fluid to settle.
- Pull out the dipstick and verify that the gearbox fluid is between the two marks. Make fluid level adjustments, if necessary.

- Install the fill plug on the front drive unit.
 Torque 15 Nm
- Remove the oil drain container from underneath the drive unit.

- Disconnect the oil pump switchbox and XP-10 jump pack from the oil pump.
.png)
- Connect the oil pump connector, and then engage the locking tab.
Important: Perform a push-pull test to verify that the connector is fully attached.
- Install the front aero shield panel. See Panel - Aero Shield - Front (Remove and Replace).
- Lower the vehicle.

