Tesla Model 3: Heater - PTC- Install
Tesla Model 3 2017-2025 Service Manual / Thermal Management / Cabin HVAC / Heater - PTC (Remove and Replace) / Heater - PTC- Install
Install
- Install the sealing plate onto the new PTC heater.
Note: Failure to transfer the sealing plate has the potential of introducing air or water leakage.
- Slide the PTC heater into the HVAC assembly, and then push the PTC heater up to install it.
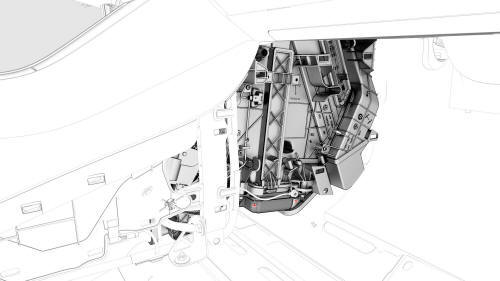
- Install the bolts that attach the RH side of the PTC heater to the HVAC
assembly.
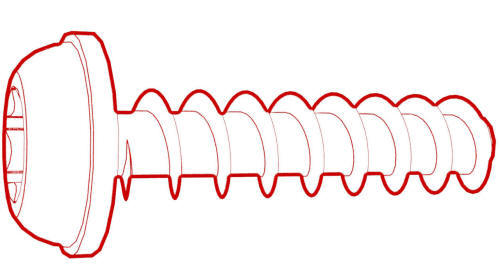 Torque 2.9 Nm
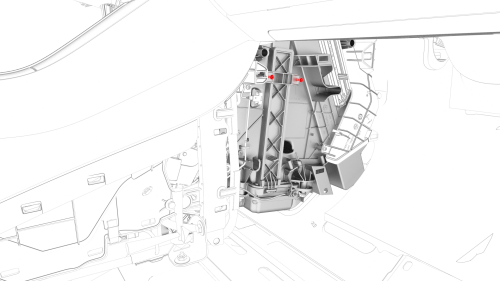
- Position the new airbox side cover for installation, and then install
the bolts that attach the airbox side cover to the HVAC assembly.
 Torque 1.2 Nm
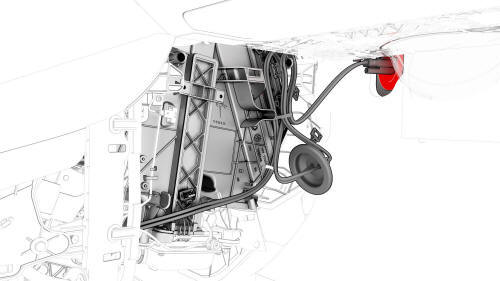
- Push the HV cable through the bulkhead, and then install the grommet.
Caution: Do not damage the HV cable while feeding through the bulkhead.
Note: Apply lubricant to the HV cable, if necessary.
.jpg)
- Install the nut that attaches the instrument panel harness ground strap
to the PTC heater.
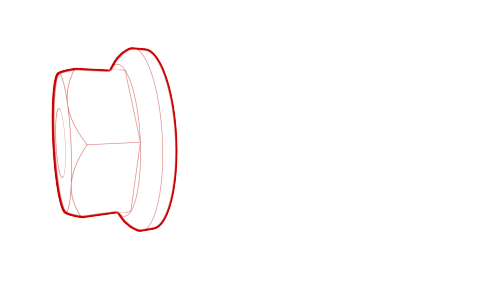 Torque 5 Nm
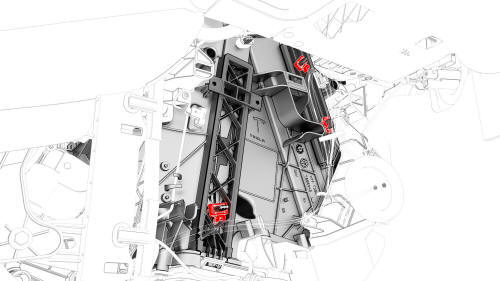
- Install the clips that attach the PTC heater electrical harness to the HVAC assembly.
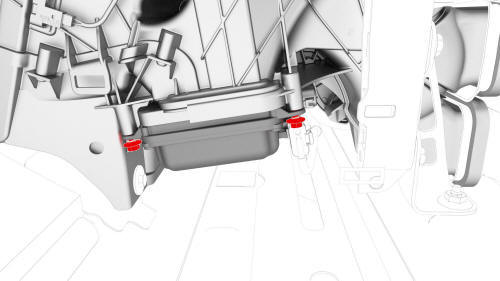
- Instal the bolts that attach the LH side of the PTC heater to the HVAC
assembly.
 Torque 2.9 Nm
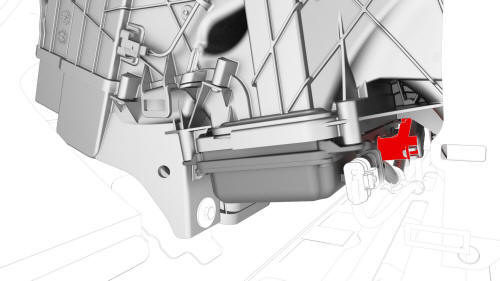
- Install the clip that attaches the PTC heater electrical harness to the HVAC assembly.
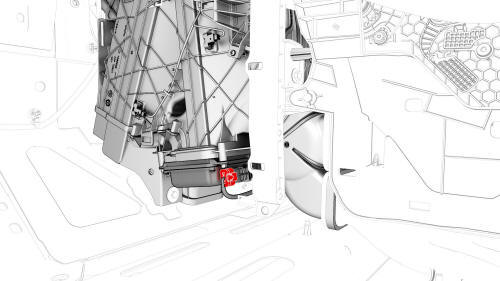
- Connect the 12V electrical connector to the PTC heater.
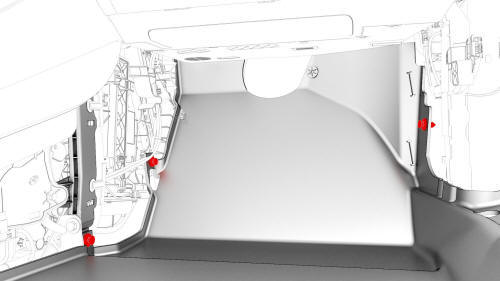
- Unfold the front RH carpet forward, and then install the clips that attach the front RH carpet to the vehicle.
- Install the RH footwell duct. See Duct - Footwell - RH (Remove and Replace).
- Install the front passenger knee airbag. See Airbag - Knee - Front Passenger (Remove and Replace).
- Raise the vehicle fully.
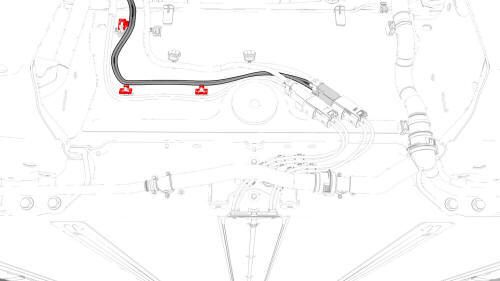
- Install the clips that attach the PTC heater electrical connector to the body.
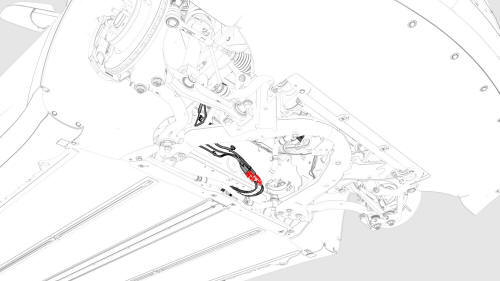
- Connect the HV harness connector to the PTC heater.
Note: Install the bracket to the body.
- Install the front area shield panel. See Panel - Aero Shield - Front (Remove and Replace).
- Lower the vehicle fully.
- Perform the penthouse air leak test. See Penthouse Air Leak Test.
.jpg)
- Connect the charge port electrical harness to the DC Input assembly.
Note: Use 1 hand to support the electrical connector while the other hand latches the locking tab.
Note: Make sure that the latch is not damaged and is fully secured in the latched position.
.jpg)
- Install the clip that attaches the electrical harness to the LH lower C-pillar.
.jpg)
- Install the bolts that attach the wiring harness bracket at the
penthouse.
.jpg) Torque 10 Nm
Torque 10 Nm - Install the LH rear sill panel trim. See Trim - Sill Panel - Rear - LH (Remove and Replace).
- Install the LH 2nd row seat side bolster. See Bolster - Side - Seat - 2nd Row - LH (Remove and Replace).
.png)
- Install the HV cap onto the penthouse.
- Reconnect 12V power. See 12V Power (Disconnect and Connect).
- Install the RH footwell cover. See Cover - Footwell - Passenger (LHD) (Remove and Replace).
- Install the RH center console side panel carpet. See Carpet - Side Panel - Center Console - LH (Remove and Replace).
- Install the RH lower A-pillar trim. See Trim - A-Pillar - Lower - LH (Remove and Replace).
- Install the RH middle A-pillar trim. See Trim - A-Pillar - Middle - LH (Remove and Replace).
- Install the RH instrument panel end cap. See End Cap - Instrument Panel - LH (Remove and Replace).
- Install the LH center console side panel carpet. See Carpet - Side Panel - Center Console - LH (Remove and Replace).
- Install the 2nd row lower seat cushion. See Seat Cushion - Lower - 2nd Row (Remove and Replace).
- Install the rear underhood apron. See Underhood Apron - Rear (Remove and Replace).
READ NEXT:
 HVAC Assembly- Remove
SPECIAL TOOLS
Kit, EPB Release, Handheld (1134520-00-A)
XP-10 Power Supply, XP-10 (1129348-00-A)
Remove
Remove the rear underhood apron. See
Underhood Apron - Rear (Remove and Replace).
Remove t
 HVAC Assembly- Install
Install
With an assistant, position the HVAC assembly into the vehicle.
Note: Align the drain hose and TXV housing.
Install the bolt that attaches the lower LH side HVAC assembly to the
vehicle
SEE MORE:
 Trim - A-Pillar - Lower - LH (Remove and Replace)
Remove
Open the LH front door.
Remove the LH instrument panel end cap. See
End Cap - Instrument Panel - LH (Remove and Replace).
Remove the LH middle A-Pillar trim panel. See
Trim - A-Pillar - Middle - LH (Remove and Replace).
Release the topmost clip on the LH lower A-pillar
 Tweeter - Dash (Remove and Replace)
Remove
Remove the LH and RH instrument panel end caps. See End Cap - Instrument
Panel - LH (Remove and Replace).
Remove the LH and RH mid A-pillar trims. See Trim - A-Pillar - Middle -
LH (Remove and Replace).
Remove the LH and RH upper A-pillar trims. See Trim - A-Pillar - Upper -
LH (R
© 2019-2025 Copyright www.tmodel3.com

