Tesla Model 3: Headlight - LH- Install
Tesla Model 3 2017-2025 Service Manual / Electrical / Exterior Lights / Headlight - LH (Remove and Replace) / Headlight - LH- Install
Install
- Install the LH headlight to the vehicle.
Caution: Do not damage the headlight during installation.
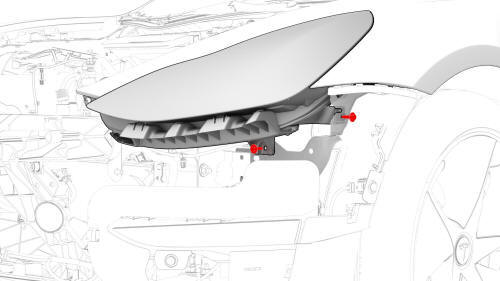
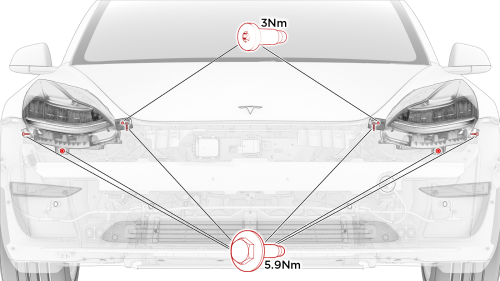
- Install the fastener(s) that attach the LH headlight to the body.
 Torque 5.9 Nm
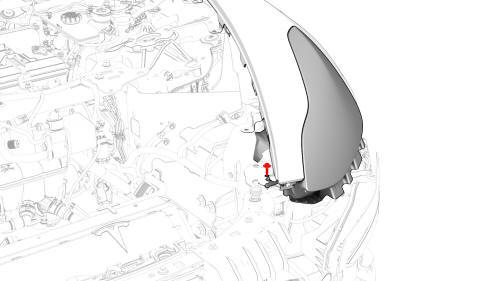
- Install the bolt that attaches the fender bracket to the body.
 Torque 3 Nm
.jpg)
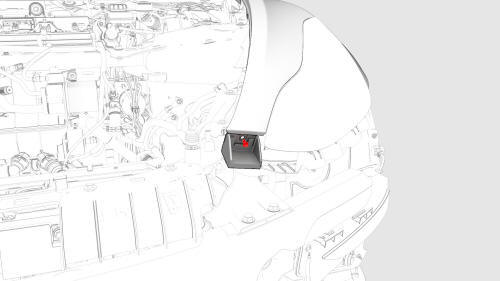
- Connect the electrical connector for the LH headlight.
- Install the front fascia. See Fascia - Front (Remove and Install).
- Connect a laptop with Toolbox to the vehicle.
- Use Toolbox to update the vehicle firmware.
- Install the underhood storage unit. See Underhood Storage Unit (Remove and Replace).
- Install the hood latch cover. See Cover - Hood Latch (Remove and Replace).
- Install the cabin intake duct. See Duct - Cabin Intake (Remove and Replace).
- Install the rear underhood apron. See Underhood Apron - Rear (Remove and Replace).
- Remove the vehicle from the lift.
- Adjust the LH headlight:
- Headlights - Adjust - NA (Tool Method)
- Headlights - Adjust - NA (Wall Method)
- Headlights - Adjust - EMEA (Wall Method)
READ NEXT:
 Light - Brake - High Mounted (Remove and Replace)
Remove
Remove the LH 2nd row seat side bolster. See Bolster - Side - Seat - 2nd
Row - LH (Remove and Replace).
Remove the LH side rail trim. See Trim - Side Rail - LH (Remove and
Install).
R
Procedure
Special tools required for this procedure:
SPECIAL TOOLS
Pliers, Clip Removal (1133569-00-A)
On a wall, measure 14.5 in (36.8 cm) from the floor, and then apply a
length of 1-inch masking tape h
SEE MORE:
Favorites and Recents
For most source content, your favorites
display at the top of Media Player's expanded
view for easy access.
To add a currently playing station,
podcast, or audio file to your
Favorites list, touch the Favorites
icon on Miniplayer.
To remove an item as a favorite,
touch the highlighted Fa
Latch Actuator - Charge Port - Remove
Remove
Perform the vehicle electrical isolation procedure.
See Vehicle Electrical Isolation Procedure.
Remove the LH trunk side trim. See Trim - Side -
Trunk - LH (Remove and Replace).
© 2019-2025 Copyright www.tmodel3.com
