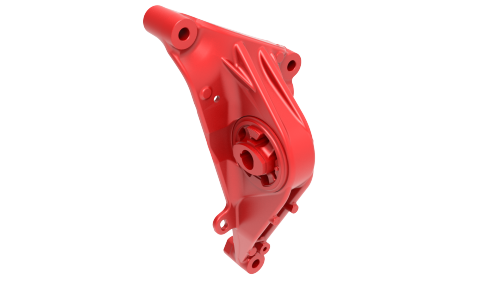
Tesla Model 3: Mount - Front Drive Unit - LH (Remove and Replace)
Tesla Model 3 2017-2025 Service Manual / Front Drive Unit / Front Drive Unit Assembly / Mount - Front Drive Unit - LH (Remove and Replace)

Remove
- Remove the front subframe assembly from the vehicle. See Subframe Assembly - Front (Dual Motor) (Remove and Install).
.png)
- Release the clips that attach the front drive unit harness to the front drive unit inverter.

- Remove the bolts that attach the LH front drive unit mount to the front
drive unit, and then remove the mount from the front drive unit.
 Torque 35 Nm + 55 degrees

Install
Installation procedure is the reverse of removal.
READ NEXT:
 Hose - Inverter Inlet - Front Drive Unit (Remove and Replace)
Hose - Inverter Inlet - Front Drive Unit - Remove
Remove
Remove the 2nd row lower seat cushion. See Seat
Cushion - Lower - 2nd Row (Remove and Rep
SEE MORE:
 Airbags
How Airbags Work
Airbags inflate when sensors detect an impact
that exceeds deployment thresholds. These
thresholds are designed to predict the severity
of a crash in time for the airbags to help
protect the vehicle's occupants. Airbags
inflate instantly with considerable force
accompanied
 Seal - Secondary - Front Door - LH (Remove and Replace)
Remove
Open the LH front door.
Use narrow-width tape to carefully mark the location of the secondary
seal around the door.
Caution:
Make sure that the edge of the tape accurately follows the edge of the
seal.
Release the ends of the door secondary seal from the rear of the inner
be
© 2019-2025 Copyright www.tmodel3.com

