Tesla Model 3: Halfshaft - Rear Drive Unit - LH (Remove and Replace)
SPECIAL TOOLS
Kit, EPB Release, Handheld (1134520-00-A)
XP-10 Power Supply, XP-10 (1129348-00-A)
Tool, Axle Extraction, Model 3 (1133386-00-A)
Hub Puller Tool, Hydraulic (1096075-00-A)
Remove
Note: Reinstall the lug nut previously installed
for early production vehicles.
Note: Break the nut loose, and then counter-hold
the ball joint with a 5 mm hex wrench.
Install
Caution:
Do not apply any lubricant to the halfshaft
splines. If lubricant is mistakenly applied,
wipe the splines clean with a shop towel.
Note: Counter-hold the ball joint with a 5 mm
hex wrench.
Note: Make sure that the support stand do not
block access to adjust the spring compressor or
suspension bolts. Note: Use the rear ride height torque gauge to
verify that the rear suspension is set to ride
height specifications and adjust the support
stand or spring compressor tool , if necessary.
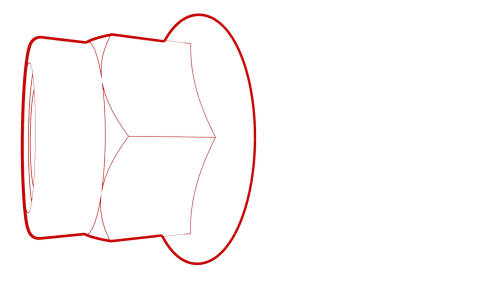
Halfshaft - Rear Drive Unit - LH - Remove

.jpg)
.png)
.jpg)
.jpg)
.jpg)
.jpg)
.jpg) Torque 5 Nm
Torque 5 Nm


.jpg)

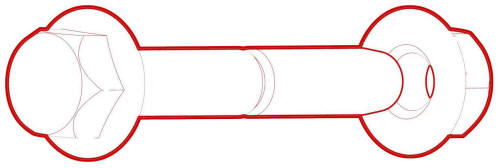
Halfshaft - Rear Drive Unit - LH - Install
.jpg)
 Torque 55 Nm
.png)
.jpg)
 Torque 76 Nm
Torque 76 Nm
Torque 134 Nm
.png)
.jpg) Torque 5 Nm
Torque 5 Nm
.jpg) Torque 80 Nm
Torque 80 Nm
.jpg)
READ NEXT:
 Heat Exchanger - Rear Drive Unit (Remove and
Replace)
Heat Exchanger - Rear Drive Unit (Remove and
Replace)
Remove
Note: Rear subframe assembly components have been removed
from illustrations for clarity. It is
SEE MORE:
Subframe Assembly - Front (RWD) - Install
Install
Position the subframe lifting tool against the front subframe, and then
attach the straps (x3) to the subframe.
Note: Make sure to align the two subframe lifting tool guides with
the front subframe.
Lower the front drive unit onto the front subframe
Note: Make sure not to move the r
Disclaimers
Event Data Recorder (EDR)
Model 3 is equipped with an event data
recorder (EDR). The main purpose of an EDR
is to record, in certain crash or near crash-like
situations, such as an air bag deployment or
hitting a road obstacle, data that will assist in
understanding how a vehicle's systems
