Tesla Model 3: Cover - Rear Suspension - LH (Remove and Replace)
Tesla Model 3 2017-2025 Service Manual / Suspension / Rear Suspension (Including Hubs) / Cover - Rear Suspension - LH (Remove and Replace)

Remove
.jpg)
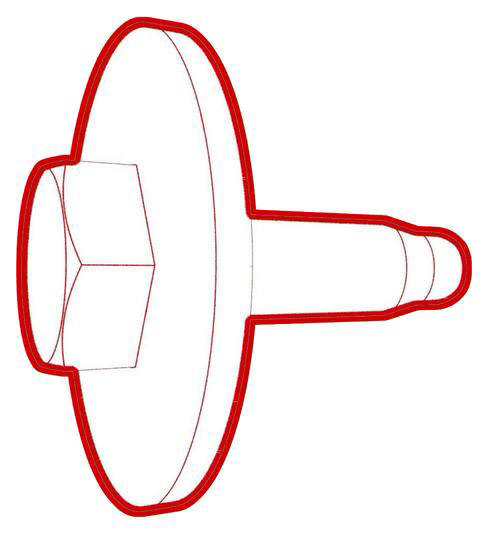
- Remove the bolt that attaches the rear suspension cover to the LH lower
rear control arm assembly.
 Torque 6 Nm
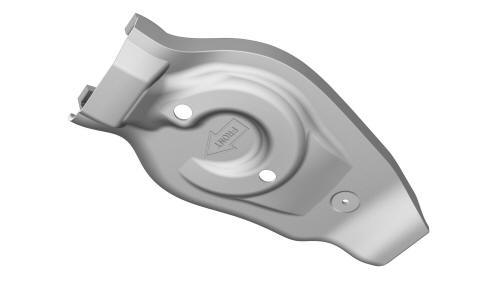
 - Release the tabs (x2) that attach the rear suspension cover to the LH
lower rear control arm assembly, and then remove the rear suspension cover
from the vehicle.

Install
Installation procedure is the reverse of removal.
READ NEXT:
 Drop Link - Stabilizer Bar - Rear - LH (Remove and Replace)
Remove
Remove the mid aero shield. See
Panel - Aero Shield - Mid (Remove and Replace).
Remove and discard the nuts that attach the LH drop link to the rear
stabilizer bar and rear LH knuck
 Hub - Rear - LH (Remove and Replace)
Remove
Remove the LH rear brake rotor. See
Brake Rotor - Rear - LH (Remove and Replace).
Remove the LH rear drive unit halfshaft. See
Halfshaft - Rear Drive Unit - LH (Remove and Replace).
 Knuckle - Suspension - Rear - LH (Remove and Replace)
Knuckle - Suspension - Rear - LH - Remove
SPECIAL TOOLS
Tool, Spring Compressor, Hook, Model 3
(1135103-00-A)
SEE MORE:
 Maintenance Schedule
Service Intervals
Your vehicle should generally be serviced on
an as-needed basis. However, Tesla
recommends the following maintenance items
and intervals, as applicable to your vehicle, to
ensure continued reliability and efficiency of
your Model 3.
Brake fluid health check every 2 years
 Fuse - Power Conversion System - HV Battery (Remove and Replace)
Fuse - Power Conversion System - HV Battery-
Remove
SPECIAL TOOLS
Ratchet, 1/4" Sq Dr, HV Insulated (1057602-00-A)
Ext Bar, Wobble, 1/4" Dr, HV Insulated (1057603-00-A)
Skt, 1/4" Sq Dr, 8mm, HV Insulated (1057604-00-A)
Magnet, Flexible, HV Insulated, 18" (1057607-00-A)
Asy, Service Cover, Penthou
© 2019-2025 Copyright www.tmodel3.com

