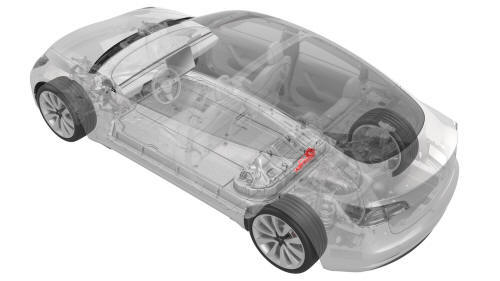
Tesla Model 3: Fuse - Power Conversion System - HV Battery (Remove and Replace)
SPECIAL TOOLS Ratchet, 1/4" Sq Dr, HV Insulated (1057602-00-A) Ext Bar, Wobble, 1/4" Dr, HV Insulated (1057603-00-A) Skt, 1/4" Sq Dr, 8mm, HV Insulated (1057604-00-A) Magnet, Flexible, HV Insulated, 18" (1057607-00-A) Asy, Service Cover, Penthouse, Model 3 (1127845-00-A) Warning: Only technicians who have been trained in High Voltage Awareness are
permitted to perform this procedure. Proper personal protective equipment (PPE)
and insulating HV gloves with a minimum rating of class 0 (1000V) must be worn
at all times a high voltage cable, busbar, or fitting is handled. Refer to Tech
Note TN-15-92-003, "High Voltage Awareness Care Points" for additional safety
information. Remove
Install
Note: The maximum acceptable resistance is 0.105 mΩ (105 μΩ). If
the resistance is above this value, escalate a Toolbox session, as appropriate.
Note: The maximum acceptable resistance is 0.145 mΩ (145 μΩ). If
the resistance is above this value, escalate a Toolbox session, as appropriate.
Fuse - Power Conversion System - HV Battery-
Remove
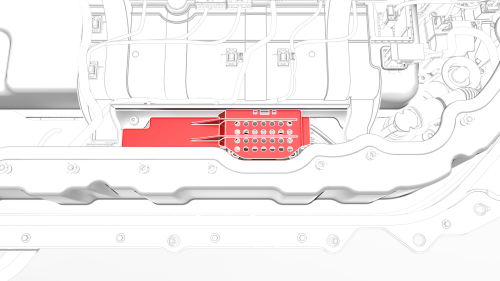
Fuse - Power Conversion System - HV Battery-
Install
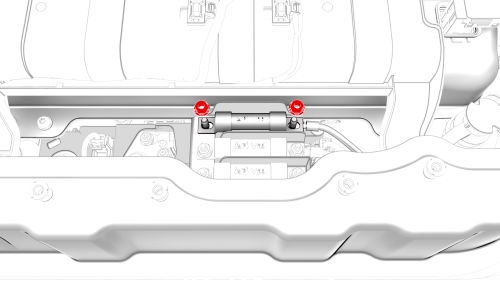
 Torque 2.5 Nm
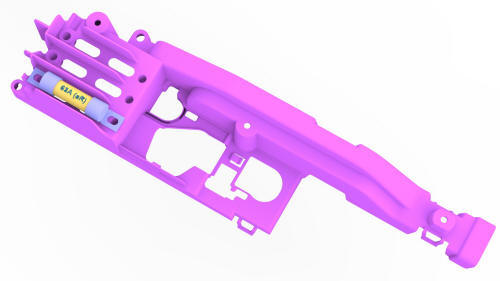
.jpg) Generic Measurement - Actual busbars and fasteners might appear
different
Generic Measurement - Actual busbars and fasteners might appear
different
Generic Measurement - Actual busbars and fasteners might appear
different
READ NEXT:
 Guide - Probing - HV Battery (Remove and Replace)
Guide - Probing - HV Battery- Remove
SPECIAL TOOLS
Ratchet, 1/4" Sq Dr, HV Insulated (1057602-00-A)
Ext Bar, Wobble, 1/4" Dr, HV Insulated (1057603-00-A)
Skt, 1/4" Sq Dr, 13mm, HV Insulated (1057606
SEE MORE:
Actuator - Latch - Hood - Secondary (Remove and Replace)
Actuator - Latch - Hood - Secondary (Remove and Replace)- Remove
Remove
Remove the rear underhood apron. See Underhood Apron - Rear (Remove and
Replace).
Remove the cabin intake duct. See Duct - Cabin Intake (Remove and
Replace).
Remove the hood latch cover. See Cover - Hood Latch (Remove
Trim - Sill Panel - Rear - LH (Remove and Replace)
Remove
Open all doors.
Lower all windows.
Remove the 2nd row lower seat cushion. See
Seat Cushion - Lower - 2nd Row (Remove and Replace).
Remove the LH 2nd row seat side bolster. See
Bolster - Side - Seat - 2nd Row - LH (Remove and Replace).
Pull upward at the lower corner of the rea
