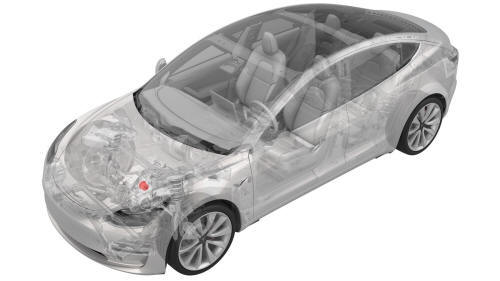
Tesla Model 3: Coolant Pump - HV Battery - Remove
Tesla Model 3 2017-2025 Service Manual / Thermal Management / Cooling System / Coolant Pump - HV Battery (Remove and Replace) / Coolant Pump - HV Battery - Remove
Remove
- Remove the underhood storage unit. See Underhood Storage Unit (Remove and Replace).
- Disconnect 12V power. See 12V Power (Disconnect and Connect).
- Remove the front aero shield panel. See Panel - Aero Shield - Front (Remove and Replace).
- Position a coolant drain under the superbottle.
- If the vehicle is equipped with dual motors, perform these steps. Otherwise, go to step 6.
- Install a foldable funnel underneath the front drive unit heat exchanger.
Note: Make sure the foldable funnel covers the front drive unit 12V
connector, steering rack, and is positioned to catch fluid from the heat
exchanger coolant outlet.
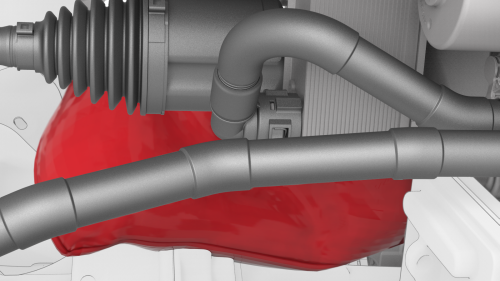
- Release the clip and disconnect the front drive unit heat exchanger to
superbottle hose from the heat exchanger coolant outlet, and then drain the
coolant into the coolant drain container.
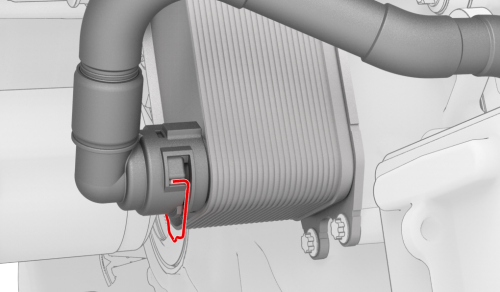
- Install plugs into the front drive unit heat exchanger to superbottle hose and the heat exchanger coolant outlet.
.jpg)
- Release the clip that attaches the electrical harness to the superbottle.
.jpg)
- Disconnect the electrical harness from the HV battery coolant pump connector.
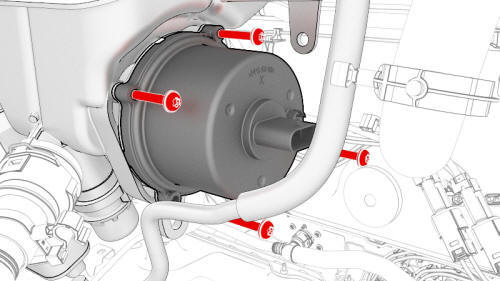
- Remove and discard the bolts that attach the HV battery coolant pump to
the superbottle, and then remove the pump from the superbottle.
READ NEXT:
 Coolant Pump - HV Battery - Install
Install
Remove and discard any o-rings or debris in the superbottle where the
coolant pump will install.
Make sure that new o-rings are installed onto the new coolant pump.
Lubricate the o-rings
Coolant Pump - Powertrain (Remove and Replace)
Remove
Remove the underhood storage unit. See Underhood Storage Unit (Remove
and Replace).
Disconnect 12V power. See 12V Power (Disconnect and Connect).
Remove the front aero shield panel. See P
Cooling System (Check and Fill)
Remove
Remove the rear underhood apron. See Underhood Apron - Rear (Remove and
Replace).
Remove the cabin intake duct. See Duct - Cabin Intake (Remove and
Replace).
Remove the outer HVAC ple
SEE MORE:
Service Precautions
Observe the following precautions when handling components used in the air
conditioning system:
Air conditioning units must not be lifted by their hoses, pipes, or
capillary lines.
Hoses and lines must not be subjected to any twist or stress; the efficiency
of the air conditioning system
Steering Wheel (Remove and Install)
Remove
Set the vehicle's front
wheels straight and the
steering wheel centered.
Remove the 2nd row lower
seat cushion. See
Seat Cushion - Lower - 2nd
Row (Remove and
© 2019-2025 Copyright www.tmodel3.com
