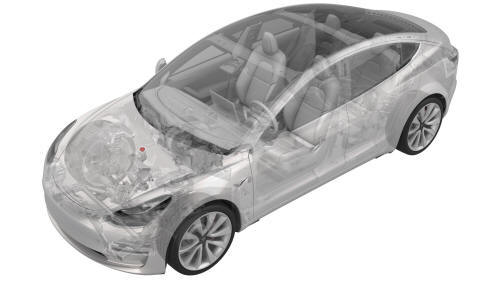
Tesla Model 3: Cooling System (Check and Fill)
Tesla Model 3 2017-2025 Service Manual / Thermal Management / Cooling System / Cooling System (Check and Fill)
Remove
- Remove the rear underhood apron. See Underhood Apron - Rear (Remove and Replace).
- Remove the cabin intake duct. See Duct - Cabin Intake (Remove and Replace).
- Remove the outer HVAC plenum duct. See Duct - HVAC Plenum - Outer (Remove and Replace).
Procedure
- Connect a laptop with Toolbox to the vehicle.
- Type "thermal" into the search field.
Note: Make sure "Actions" is selected if not already.
- Click the play button next to "PROC_VCFRONT_X_THERMAL-FILL-DRAIN", and then select Run.
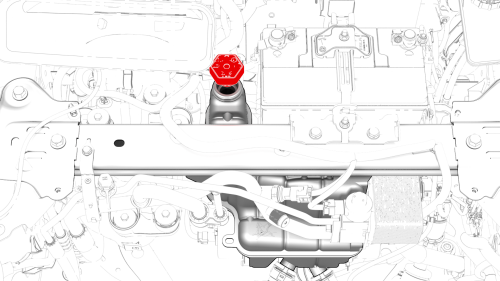
- Remove the cap from the superbottle reservoir.
- Add coolant to the superbottle, so that the liquid level is approximately 6mm (0.25 in) above the MAX line.
- Type"vcfront" into the search field.
- Click the play button next to "TEST-RESET_VCFRONT", and then select Run.
- Click the play button next to "TEST_VCFRONT_X_THERMAL-COOLANT-AIR-PURGE", and then select Run.
Note: Make sure that the drive rails are off. Turning on the drive rail will stop the routine.
Note: The test lasts approximately 10 minutes.
Note: Test will vary speeds from 3,500 to 6,500 RPM, viewable under the PT Thermal tab.
Note: If speeds hover at around 7,000 RPM, perform this procedure again.
- Inspect the coolant level in the superbottle, and add coolant so that the liquid level is approximately 6mm (0.25 in) above the MAX line.
- Install the cap on the superbottle reservoir.
Install
Installation procedure is the reverse of removal.
READ NEXT:
 Cooling System - Remove
Remove
Remove the 2nd row lower seat cushion. See Seat Cushion - Lower - 2nd
Row (Remove and Replace).
Remove the rear underhood apron. See Underhood Apron - Rear (Remove and
Replace).
Remov
Cooling System - Procedure
Procedure
LH side shown, RH similar
Release the bungee straps and install the push clips that attach the
lower rear edge of the LH and RH front wheel liners to the vehicle.
Install the front ae
SEE MORE:
Overview
The touchscreen displays a map at all times.
To move the map in any direction, hold and
drag a finger. To rotate the map in any
direction, hold and turn two fingers.
To set the map's orientation, touch the icon in
the top right corner of the map:
North Up - North is always at the
top
Ski - Center Rail - HV Battery (RWD)- Install
Install the PTC heater and A/C compressor electrical harness into the
sides of the HV battery center rail ski.
Install the cap cover at the rear of the HV battery center rail ski.
Install the cap cover at the front of the HV battery center rail ski
With an assistant, install the center
© 2019-2025 Copyright www.tmodel3.com
