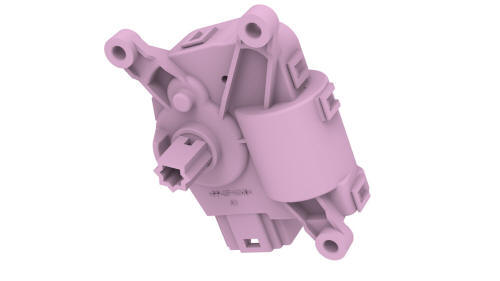
Tesla Model 3: Actuator - Lower Mode (Remove and Replace)
Tesla Model 3 2017-2025 Service Manual / Thermal Management / Cabin HVAC / Actuator - Lower Mode (Remove and Replace)

Remove
- Remove the HVAC assembly. See HVAC Assembly (Remove and Replace).

- Disconnect the lower mode actuator electrical connector.

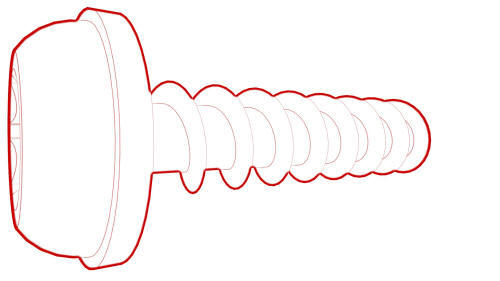
- Remove the screws that attach the lower mode actuator to the HVAC
assembly, and then remove the actuator from the HVAC assembly.

Install
- Position the lower mode actuator on the HVAC assembly; align the guide, and then push the lower mode actuator towards the left to install.

- Install the screws that attach the lower mode actuator to the HVAC
assembly.
 Torque 1.2 Nm

- Connect the lower mode actuator electrical connector.
- Install the HVAC assembly. See HVAC Assembly (Remove and Replace).
READ NEXT:
 Actuator - Upper Mode (Remove and Replace)
Actuator - Upper Mode- Remove
Remove
Remove the 2nd lower seat cushion. See
Seat Cushion - Lower - 2nd Row (Remove and Replace).
Remove the rear underhood apron. See
Underhood Apron - Rear (Rem
SEE MORE:
 Superbottle (Dual Motor) (Remove and Replace)
Superbottle (Dual Motor) - Remove
SPECIAL TOOLS
Kit, Svc Plug, Cooling Hose, Model 3 (1135762-00-A)
Remove
Remove the 2nd row lower seat cushion. See Seat Cushion - Lower - 2nd
Row (Remove and Replace).
Remove the rear underhood apron. See Underhood Apron - Rear (Remove and
Replace).
Remov
 Bracket - License Plate - Front (EMEA) (Retrofit using Template)
Procedure
Clean the front center surface of the front fascia.
Align the template with the parking sensors, and then use masking tape
to hold the template in place.
LH side shown, RH side similar
Align the front license plate bracket over the template, and then secure
the bracket
© 2019-2025 Copyright www.tmodel3.com

