Tesla Model 3: Tweeter - Front Door - LH (Remove and Replace)
Tesla Model 3 2017-2026 Service Manual / Infotainment / Audio System - Speakers Subwoofer Amplifier / Tweeter - Front Door - LH (Remove and Replace)

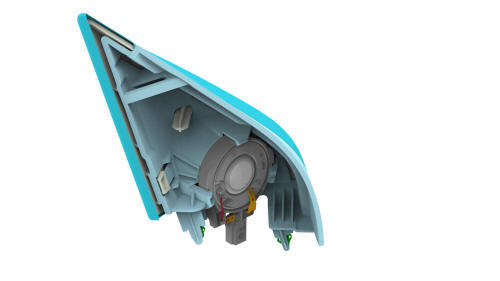
Remove

- Pull straight up to release the clips that attach the LH front door tweeter assembly to the door.
Caution: Do not pull the tweeter assembly too far from the door panel, as the tweeter electrical connector is still attached.
- Disconnect the electrical connector from the tweeter, and then remove
the tweeter from the door.
Install
Installation procedure is the reverse of removal.
Audio System - Bluetooth
Microphone - Bluetooth (Remove and Replace)

The bluetooth microphone is part of the front overhead console and must be replaced as an assembly. See Overhead Console - Front (Remove and Replace).
READ NEXT:
 USB Hub - Center Console - Front (Remove and Replace)
Remove
Remove the center console. See Center Console (Remove and Install).
Disconnect the electrical wiring harness connector from the USB hub.
Release the clips that attach the electric
USB Hub - Center Console - Rear (Remove and Replace)
Remove
Remove the center console air vent panel. See Panel - Air Vent - Center
Console (Remove and Replace).
Remove the screws that attach the vent unit to the center console air
vent pan
SEE MORE:
Harness - Charge Port to HV Battery (Three-Phase) (Remove and Replace)
Harness - Charge Port to HV Battery (Three-Phase) - Remove
Remove
Open all doors and windows.
Move the driver seat and front passenger seat fully
forward.
Remove the 2nd row lower seat cushion. See
Bracket - Taillight - LH (Remove and Replace)
Remove
Remove the 2nd row lower seat cushion.
Open the trunk and remove the LH liftgate stop.
Remove the trunk floor trim.
Remove the trunk sill trim.
Remove the LH 2nd row seat side bolster.
Remove the LH 2nd row seatback.
Remove the RH 2nd row seat side bolster
Remove the RH 2nd row
© 2019-2026 Copyright www.tmodel3.com
