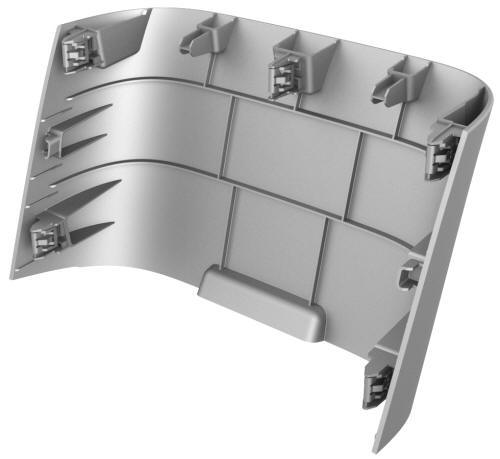
Tesla Model 3: Panel - Lower Rear - Center Console (Remove and Replace)
Tesla Model 3 2017-2025 Service Manual / Interior Trim / Center Console / Panel - Lower Rear - Center Console (Remove and Replace)
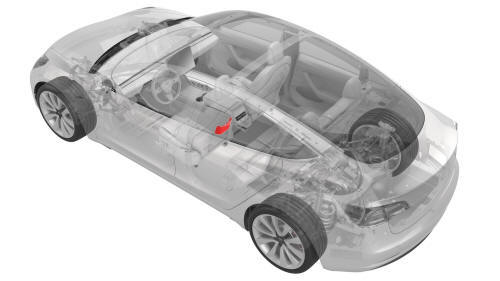
Remove
- Move the driver seat and front passenger seat fully forward.
Note: Notice the location of the driver seat and front passenger seat prior to moving them forward to help restore the seats back into their original position.

- Release the clips that attach the center console lower rear panel to the center console, and then remove the panel from the vehicle.
Note: Insert the plastic trim tool at the bottom of the
center console lower rear panel, and then pull panel straight out to release it.
Install
Installation procedure is the reverse of removal.
READ NEXT:
 Phone Tray - Center Console (Remove and Replace)
Remove
Open both the forward and rearward center console rotating lids.
Remove and secure the customer's belongings from the phone tray, if
needed.
Remove the phone dock mat from the cen
Coat Hook - Rear - LH (Remove and Replace)
Remove
Remove the headliner. See
Headliner (Remove and Install).
Release the clips that attach the bezel to the LH rear coat hook, and
then remove the coat hook from the headliner.
SEE MORE:
Brake Fluid Bleed - One Caliper
SPECIAL TOOLS
Brake System Servicing Equipment (1054715-01-A)
Flare nut crowfoot set (1079041-00-A)
Adapter, Brake Bleeder, PowerProbe TS04
Cap - Penthouse 12V (Remove and Replace)
Remove
Remove the 2nd row lower seat cushion. See
Seat Cushion - Lower - 2nd Row (Remove and Replace)
Lift the 12V cap straight up from over the high voltage controller
connector on the RH side of the penthouse, and then remove the 12V cap from
the vehicle.
Install
Installation procedu
© 2019-2025 Copyright www.tmodel3.com
