Tesla Model 3: Module - Steering Column Control - Install
Tesla Model 3 2017-2025 Service Manual / Steering / Steering Rack and Lower Column / Module - Steering Column Control (Remove and Replace) / Module - Steering Column Control
- Install
Install

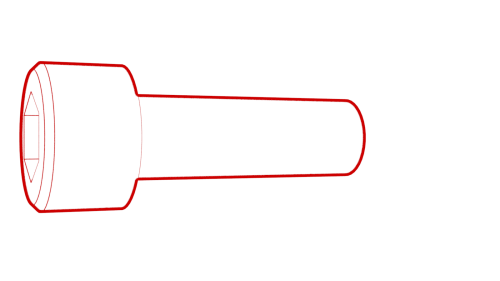
- Install the fastener that attaches the steering
column control module to the steering column.
Torque 9 Nm

- Install an orange plastic retaining clip (1028053-00-A) on the steering column control module electrical connector.

- Connect the electrical connector to the steering column control module.
- Perform a push-pull-push test to make sure that the steering column control module electrical connector is seated properly.

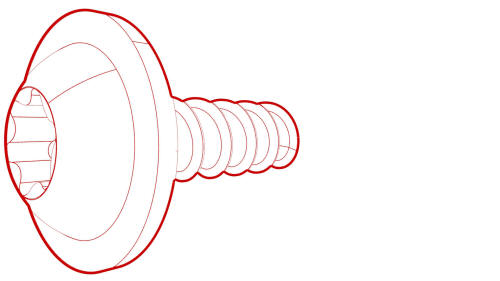
- Install the lower screw that attaches the steering
column lower shroud to the steering column.
 Torque 1.5 Nm

- Install the upper screws that attach the steering
column lower shroud to the steering column.
 Torque 1.5 Nm

- Install the clips that attach the steering column upper shroud to the lower shroud.
- Remove the red locking tab from the new steering column control module by lifting it off.
- Install the steering wheel. See Steering Wheel (Remove and Install).
- Install the driver airbag. See Airbag - Driver (Remove and Replace).
- Connect 12V power. See 12V Power (Disconnect and Connect).
- Update the vehicle firmware.
- Connect a laptop with Toolbox to the vehicle.
- Using Toolbox, type "SCCM" in the search field, click on "PING-TP_ SCCM," and then select Run.
- Using Toolbox, type "VCLEFT" in the search field, click on "TEST-SELF_ VCLEFT_X_SWC," and then select Run.
- Using Toolbox, type "COLUMN" in the search field, click on "TEST-SELF_ VCLEFT_X_STEERING-COLUMN," and then select Run.
- Using Toolbox, type "COLUMN" in the search field, click on "PROC-VCLEFT_ X_STEERING-COLUMN-CALIBRATION," and then select Run.
- Disconnect the laptop from the vehicle.
- Install the rear underhood apron. See Underhood Apron - Rear (Remove and Replace).
- Install the 2nd row lower seat cushion. See Seat Cushion - Lower - 2nd Row (Remove and Replace).
READ NEXT:
 Steering Rack (Dual Motor) (Remove and Replace)
Caution:
Vehicles built before March 25th, 2019 have 1st generation
front subframes. Vehicles built on March 25th, 2019 and
a
 Steering Rack (RWD) (Remove and Replace)
Caution: Vehicles built before March 25th, 2019 have 1st generation
front subframes. Vehicles built on March 25th, 2019 and
after hav
 Tie Rod End - LH (Remove and Replace)
Raise and support the vehicle. See Raise Vehicle - 2
Post Lift.
Remove the LH front wheel.
SEE MORE:
 Heater - PTC- Install
Install
Install the sealing plate onto the new PTC heater.
Note: Failure to transfer the sealing plate has the potential of
introducing air or water leakage.
Slide the PTC heater into the HVAC assembly, and then push the PTC
heater up to install it.
Install the bolts that attach the RH
 Steering Column - Remove
Note:
This procedure was formulated using a release candidate or
production model. Follow safety requirements and use extreme
caution when working on or near high-voltage systems and
components.
Remove
© 2019-2025 Copyright www.tmodel3.com

