Tesla Model 3: Glass - Door - LH - Front (Remove and Replace)
Tesla Model 3 2017-2026 Service Manual / Closures / Door Glass and Regulators / Glass - Door - LH - Front (Remove and Replace)

SPECIAL TOOLS
TOOLKIT, WINDOW SWITCH (1454796-00-A)
Warning: The side impact airbag deployment depends on the front door sensor's ability to detect a side impact from air pressure. Make sure that there are no uncovered holes in the front door shells. Additionally, always reinstall plugs or tape when servicing or inspecting the front doors and their components.
Remove
- Remove the LH front door trim panel. See Panel - Door Trim - Front - LH (Remove and Install).
- Remove the LH front door inner belt seal from the door. See Seal - Inner Belt - Front Door - LH (Remove and Replace).

- Remove the plugs that cover the openings in door for access to the regulator isolator clamps.
- Disconnect the window motor electrical connector.
- Connect the window switch tool, and then position the door glass so that the regulator isolator clamp bolts are accessible from the holes.

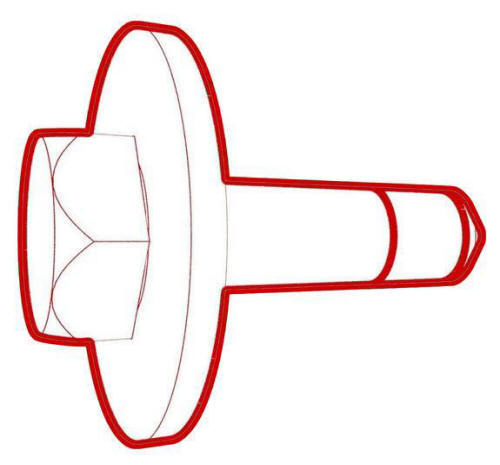
- Remove and discard the bolts that attach the door glass to the regulator isolator clamps, and then remove the door glass from the door.
Note: Replace the regulator isolation clamps, if damaged.
Install
- Install the glass to the front LH door: Hand-tighten the glass to the regulator isolation clamps with new patchbolts, then raise the glass and align the center of it with the guide block opening.
Note: Make sure that the regulator isolation clamps do not bottom out on the regulator.
- Install the LH front door inner belt seal onto the door. See Seal - Inner Belt - Front Door - LH (Remove and Replace).
- Raise the front LH window fully.
- Close the LH front door.
- Inspect the front LH window for proper gap and flushness: Gap 8 mm +/- 1.7 mm; Flushness 0 mm +/- 1.7 mm.
- Open the LH front door.
- If the glass gap and flushness is out of specifications: Loosen the bolts that attach the glass to the regulator isolator clamps approximately 1/2 turn to maintain position of the glass but still allow adjustment of the glass, and then adjust the glass to gap and flushness specifications.
- Reach through the LH rear window and raise the LH front window fully.
- Check again the gap and flushness of the front LH door glass and make adjustments, if necessary.

- Tighten the bolts that attach the glass to the regulator isolator
clamps.Torque
12 Nm

- Lower the front LH window.
- Disconnect the window switch special tool.
- Connect the electrical connector for the window motor

- Install the plugs that cover the openings in the door regulator isolation clamps.
- Install the LH front door trim panel. See Panel - Door Trim - Front - LH (Remove and Install).
- Connect a laptop with Toolbox to the vehicle.
- Sit in the driver seat, and then close the LH front door.
- In Toolbox, type window in the search field.
Note: Make sure Actions is selected.
- Click the play button next to "TESTSELF_ VCLEFT_FRONT-L_CALIBRATE-WINDOW", and then select Run.
Note: The LH front window cycles up and down during this calibration routine.
- Press the LH front window switch down to the second position to active the auto-lower function, and then raise the window fully to activate the auto-raise function.
- Disconnect the laptop from the vehicle.
READ NEXT:
 Glass - Door - LH - Rear (Adjust)
DRAFT
Warning:
This procedure was derived from pre-production computer models, and
might not reflect the real-world situation. Warnings and cautions might be
missing. Follow safety requirements
 Glass - Door - LH - Rear (Remove and Replace)
SPECIAL TOOLS
Tool, Window Switch Bypass, Model 3 (1135305-00-A)
XP-10 Power Supply, XP-10 (1129348-00-A)
Warning: The side impact airbag deployment depends on the front door
sensor's ability to d
 Switch - Window - Driver (Remove and Replace)
Remove
Remove the LH front door trim panel. See
Panel - Door Trim - Front - LH (Remove and Install).
Release the clip that attaches the driver window switch electrical
harness to the doo
SEE MORE:
 Amplifier - Audio - External (Remove and Replace)
Remove
Remove the subwoofer. See Subwoofer (Remove and Replace).
Remove the screws that attach the audio amplifier to the subwoofer
assembly, and remove the amplifier from the subwoofer.
Torque 4.4 Nm
Install
Installation procedure is the reverse of removal.
 Sensor - Temperature - RH (Remove and Replace)
Remove
Remove the RH center console side panel carpet. See
Carpet - Side Panel - Center Console - LH (Remove and Replace).
Disconnect the electrical wiring harness conector from the RH
temperature sensor.
Release the tabs that attach the RH temperature sensor to the HVAC
module,
© 2019-2026 Copyright www.tmodel3.com

